Skeletons are file structure templates, which are used for fast automatic creation of predefined virtual host content when creating a physical hosting.
Skeleton file may contain the following top-level directories only:
All other directories will be ignored during skeleton deployment.
Allowed skeleton file types are *.tgz and *.zip archives.
Follow these steps to create a skeleton:
Create the required directories (available directories are: httpdocs, httpsdocs, cgi-bin, anon_ftp, error_docs)
Place the necessary files into the directories. These files will appear in the corresponding directories of each domain that will be created and set-up on physical hosting.
Pack those directories and files into an archive file. Make sure that the skeleton directories are located in the root of the archive file and not in a subdirectory.
Now the skeleton file is ready to be uploaded.
To activate a new custom skeleton, follow these steps:
Click the
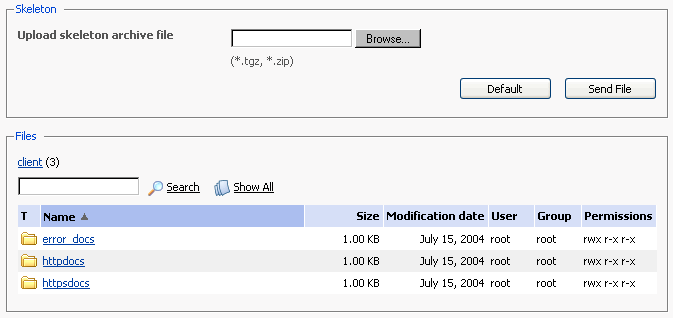
 Skeleton icon on the Home page. The Skeleton management page will open:
Select the archive file that contains the skeleton. Use the Browse button to locate the desired file.
Click Send File. The new skeleton will be uploaded and activated.
NOTE
Each new skeleton replaces the previously used one. Now, the new skeleton will be used in the process of creating all new physical hosting instances until it is replaced by another skeleton (new or the default one).
You can always revert to using the default skeleton. To do so, just click the Default button on the Skeleton management page. The default skeleton will replace the currently used one and will be activated.